
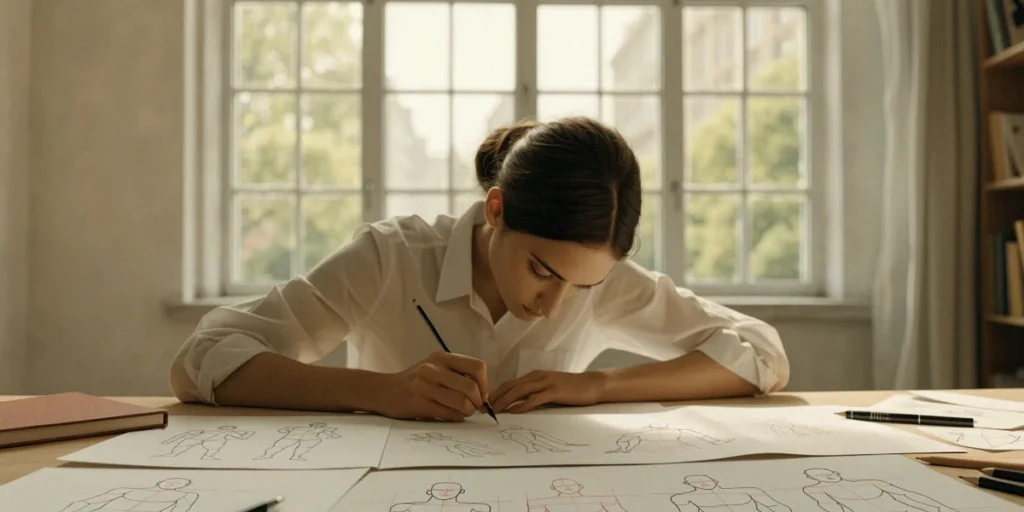
Figure Drawing for Animation: Where Beginners Should Start
You sit down with a fresh sketchbook, pencil in hand, and the page stays stubbornly blank. Should you start with anatomy charts and muscle groups, or should you just try to capture the way a person moves? Most beginners freeze at this exact fork in the road, convinced they need to master everything before drawing anything. We’ve watched hundreds of students in Montreal hit this same wall, and the answer is simpler than it looks: start with gesture, layer in anatomy later, and let local life drawing sessions do the heavy lifting. Here’s the path we recommend.
Why Figure Drawing Is the Backbone of Animation Training

Animation is the illusion of life, and that illusion falls apart the moment a character moves without believable weight, rhythm, or timing. Figure drawing trains your eye to see those qualities in real bodies before you ever touch a timeline. When you draw a model shifting their weight from one hip to the other, you’re learning the same principles an animator applies to a walk cycle or a jump.
This is why major studios in our city care so much about life-drawing fundamentals. Ubisoft Montreal and Warner Bros. Games Montreal are two of the largest animation and game studios in the world, and their recruiters consistently flag strong figure drawing as a signal that a candidate understands movement. A polished render means little if the underlying pose reads as stiff or weightless.
The Difference Between Figure Drawing and Gesture Drawing
People use these terms interchangeably, but they describe different goals. Figure drawing is the broader practice of rendering the human form — proportions, structure, light, and anatomy. Gesture drawing is a fast, loose exercise focused purely on capturing action, flow, and weight in seconds. One builds accuracy; the other builds life. You need both, but they serve different purposes at different stages.
What Animation Studios Actually Look For
When studios review a portfolio, they aren’t hunting for perfect anatomy. They want to see that you can observe quickly, exaggerate clearly, and communicate a pose in a few confident lines. Sketchbook pages full of dynamic gesture drawings often impress reviewers more than a single detailed anatomical study.
- Clear, readable poses with a strong line of action
- Variety in body types, angles, and energy levels
- Confident, unbroken strokes rather than hesitant scratchy lines
- Evidence of consistent, ongoing practice
Start With Gesture Drawing, Not Anatomy
We tell every beginner the same thing: put down the anatomy textbook for now. Anatomy without gesture produces stiff, lifeless figures. Gesture without anatomy still produces drawings that move. Start with short-pose gesture drawing to train your eye for action and weight, then circle back to muscles once your hand knows how a body flows.
You don’t need expensive resources to begin. Free online tools like Proko and Line of Action offer gesture drawing practice for beginners, complete with timed pose sessions you can run from your laptop. Line of Action even lets you filter by pose duration and subject type, which makes it easy to build a daily habit without leaving your apartment.
How Long Should Beginner Gesture Poses Be?
Start with 30-second poses and do a full page of them. The timer forces you to prioritize the line of action over details. Once 30 seconds feels manageable, mix in 1-minute and 2-minute poses to give yourself room for basic structure. We generally recommend spending at least half of every practice session on poses under two minutes.
Daily Practice Routines That Actually Stick
Consistency beats marathon sessions every time. A focused 20 minutes a day will outperform a five-hour weekend cram. Try anchoring practice to an existing habit — right after your morning coffee, or before you open social media in the evening.
- Five minutes of quick 30-second gestures to warm up
- Ten minutes of 1–2 minute poses with basic structure
- Five minutes reviewing your page and circling your strongest pose
Build Anatomy Knowledge Gradually
Once gesture starts feeling natural, anatomy study becomes far more useful because you have a framework to attach it to. Instead of memorizing muscles in isolation, you’ll understand how the ribcage, pelvis, and limbs connect during movement. Two standard references we recommend are Figure Drawing for All It’s Worth by Andrew Loomis and Force by Michael Mattesi. Both are decades-old staples that animators still keep on their desks.
If you want to accelerate this stage, Montreal art classes at Concordia University or local ateliers give you structured feedback that self-study can’t replicate. A teacher can spot a proportion error in your drawing in five seconds that might take you months to notice alone.
Which Anatomy Topics Matter Most for Animators
You don’t need to become a medical illustrator. Focus on the topics that directly affect movement and posing:
- Proportions and basic skeletal landmarks
- The torso as a connected ribcage and pelvis unit
- How limbs rotate from the shoulder and hip
- Simplified muscle groups that affect silhouette
Balancing Study Time With Creative Work
Anatomy study can become a rabbit hole. We suggest capping it at roughly a third of your total practice time, leaving the rest for gesture and actual animation exercises. You learn anatomy to serve your drawing, not the other way around.
Use Montreal Art Classes and Life Drawing Sessions
There is no substitute for drawing a live model in a room full of other artists. In-person sessions give you real three-dimensional form, natural lighting, and immediate feedback from instructors and peers. Isolated online learning has its place, but beginners improve faster when someone can walk over and correct their line of action on the spot.
Montreal life drawing sessions are available at Studio Mile End and Atelier de Brésoles, both of which run regular open sessions at accessible prices. The Montreal Museum of Fine Arts also hosts workshops that combine drawing practice with direct study of sculpture and masterworks.
Where to Find Life Drawing in Montreal
Beyond the venues above, keep an eye on community boards at Concordia, local cafés, and artist-run centres. Many sessions are drop-in, no registration required — just bring a sketchbook and something to draw with.
How to Choose the Right Class for Your Level
If you’ve never drawn from life, start with an untimed or long-pose session so you can focus on observation without panic. Once you’re comfortable, move into timed gesture sessions. Avoid advanced anatomy courses until you can consistently capture a pose in under two minutes.
Turn Practice Into an Animation Portfolio
Your sketchbook is not your portfolio — but it feeds it. A strong animation portfolio should show gesture drawings, character turnarounds, and short animated tests that demonstrate you understand movement. Schools like Sheridan College and Concordia University’s Mel Hoppenheim School of Cinema review portfolios with exactly these elements in mind, and they’re looking for evidence of how you think, not just how you render.
What to Include in a Beginner Animation Portfolio
- 10–15 of your strongest gesture drawings from life
- Character turnarounds showing consistency from multiple angles
- Short animated tests — even simple bouncing balls or walk cycles
- A few observational drawings that show you draw from life regularly
Common Portfolio Mistakes We See
The most frequent mistake is padding a portfolio with finished renders that lack movement. Reviewers would rather see a rough but lively gesture than a polished but stiff figure. Other common issues include repetitive poses, no sense of scale or variety, and portfolios that look assembled in a weekend rather than built over months.
Create a Weekly Schedule You Can Maintain
Consistency over intensity — that’s the rule. A realistic weekly plan mixing gesture, anatomy, and animation exercises will move you further than sporadic bursts of effort. Track your progress in a physical sketchbook or with digital tools like Krita and Blender, both free and widely used in the animation community.
Sample 5-Hour Weekly Plan for Beginners
- Monday (1 hour): Gesture drawing — 30-second and 1-minute poses
- Wednesday (1 hour): Anatomy study — one focused topic, drawn from reference
- Friday (1 hour): Life drawing session or Line of Action practice
- Saturday (1.5 hours): Animation exercise in Krita or Blender
- Sunday (0.5 hours): Review the week’s pages and note improvements
How to Stay Motivated When Progress Feels Slow
Progress in drawing is rarely linear. Keep old sketchbooks and flip back through them every few months — the improvement is usually invisible day to day but obvious across a season. Sharing work with a class or online community also keeps you accountable and gives you feedback loops that solo practice can’t provide.
FAQ
Do I need to master anatomy before I start animating?
No. We recommend starting with gesture drawing and basic animation exercises right away. Anatomy knowledge grows alongside your practice and becomes more useful once you already understand how bodies move.
How often should I attend life drawing sessions in Montreal?
Once a week is a solid baseline for beginners. If you can manage twice a week, you’ll see faster improvement in observation and confidence, especially when combined with daily gesture practice at home.
Are free tools like Proko and Line of Action enough for beginners?
They’re excellent starting points and can carry you through your first several months. At some point, though, in-person feedback from a Montreal art class or life drawing session will push you further than online tools alone.
What should a beginner animation portfolio look like?
Focus on gesture drawings, character turnarounds, and short animated tests. Schools like Sheridan College and Concordia’s Mel Hoppenheim School of Cinema want to see how you observe and communicate movement, not just how cleanly you render.
Starting with gesture drawing, leaning on Montreal’s local life drawing resources, and practicing consistently will build a foundation strong enough for serious animation training and portfolio review. You don’t need to know everything on day one — you just need to start drawing, keep showing up, and let the practice compound.