

Anatomy Basics Every Character Artist Needs
Last winter in our Montreal studio, a student showed us a gesture drawing that had everything: energy, flow, a beautiful line of action. Then she tried to put clothes on the figure and it fell apart. The shoulders didn’t sit on a ribcage, the hips floated free of the spine, and the whole pose collapsed the moment it needed to look like a real body. We see this constantly. Gesture gets students excited about drawing people, but anatomy is what makes those drawings hold up. This guide covers the anatomy fundamentals we drill in our Montreal art classes, and why they matter just as much for animation training as they do for life drawing.
Why Anatomy Still Matters in Gesture Drawing
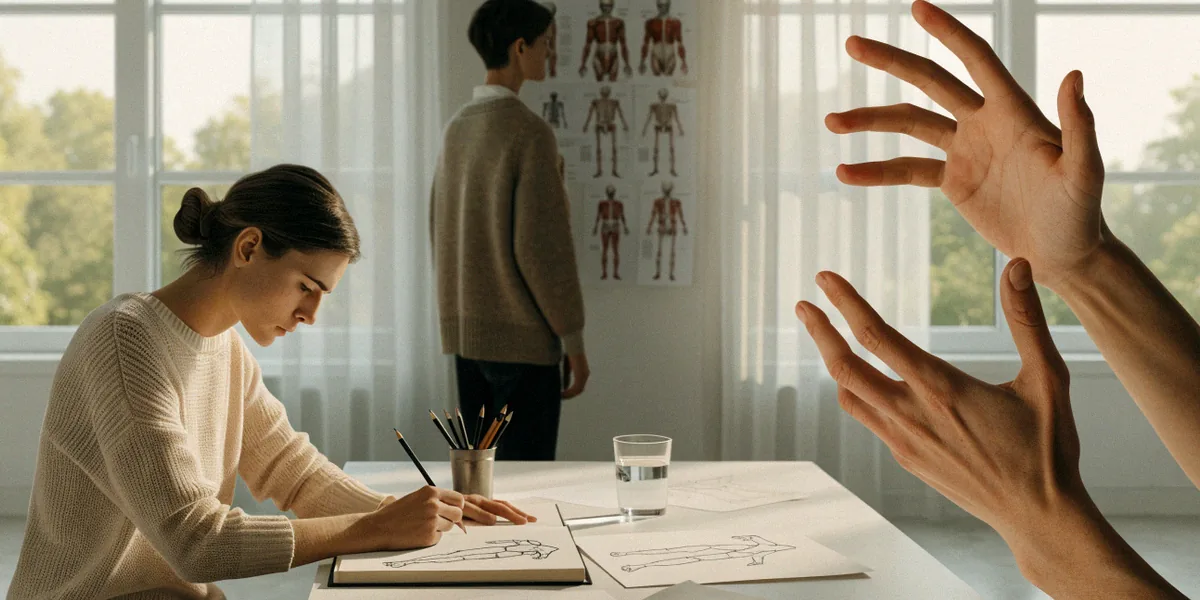
Gesture drawing captures motion and rhythm. Anatomy gives that motion believable structure. A gesture without anatomy is a scribble that feels alive for a second; a gesture with anatomy underneath feels like a person who could actually stand up and walk. At our Montreal art classes, we never teach these as separate skills. Students gesture first, then layer structure on top, every single session.
The Difference Between Gesture and Structure
Gesture is about the whole: the tilt of the spine, the swing of an arm, the weight shift from one leg to the other. Structure is about the parts: where the ribcage ends, how the pelvis tilts, how the skull sits on the neck. When you combine them, a 30-second drawing can still read as solid. When you skip structure, even a carefully rendered figure looks like a balloon.
How Animation Training Exposes Weak Anatomy
In animation, a pose has to work from every angle and hold up through dozens of in-betweens. If your anatomy is vague, the character’s volume will shift and wobble as it moves. That’s why our animation training in Montreal puts anatomy review alongside timing and spacing exercises. Programs at Concordia University and UQAM expect incoming students to already understand basic construction, and portfolio reviewers can spot weak anatomy instantly.
The Skeletal Framework: Your First Layer
Bones don’t move much, which makes them the most reliable thing you can memorize. Learn the skeleton and you’ll never wonder where a shoulder or knee belongs again. We teach this layer first in our Montreal studio because everything else, muscle, fat, clothing, sits on top of it.
The Three Masses: Ribcage, Pelvis, and Skull
Think of the body as three solid boxes connected by flexible links. The ribcage is an egg-shaped mass that tilts and twists. The pelvis is a bucket that tips forward and back. The skull is a sphere with a jaw attached. The spine and neck connect them, and the limbs hang off the sides. If you can draw these three masses in any pose, you’ve solved 80% of figure construction.
Landmarks You Can Feel on a Live Model
At local life-drawing sessions, you can’t see through the skin, but you can find bony landmarks by touch and observation:
- The clavicle, which runs from the pit of the neck to the shoulder
- The acromion process, the bony point at the top of each shoulder
- The scapula, which slides across the back when the arm lifts
- The iliac crest, the top ridge of the pelvis you can feel at the hip
- The patella and the bony points of the ankle and wrist
These landmarks anchor everything else. When a pose looks off, it’s usually because one of them has drifted.
Muscle Groups That Drive Animation Poses
You don’t need to memorize every muscle in an anatomy textbook. You need the ones that change the silhouette. Animation portfolio reviewers look for this specifically: does the artist understand which muscles stretch, which bunch, and which stay quiet during a pose?
Torso Muscles: Flexion, Extension, and Twist
The pectoralis major pulls the arm across the chest. The latissimus dorsi sweeps from the lower back to the upper arm and creates that V-shape in a raised-arm pose. The abdominals and obliques handle bending and twisting. When a character reaches, throws, or turns, these are the muscles that sell the action.
Limbs: Keeping Volume Through Motion
The deltoid caps the shoulder and changes shape dramatically when the arm lifts. The biceps and triceps create the front and back curves of the upper arm. In the leg, the glutes and quadriceps define the thigh’s mass, while the calf muscles shift as the foot flexes. The trick is drawing these as overlapping forms, not flat shapes. When the arm bends, the bicep bulges and the tricep stretches. That contrast is what makes a pose feel muscular rather than stiff.
Proportion Systems That Actually Work
Every figure drawing student eventually meets the eight-head figure, where the body is divided into eight head-lengths. It’s a useful starting point, but it’s not a rule. We prefer flexible systems that adapt to different body types and styles.
Head Units and Body Ratios
The classic eight-head proportion works for idealized adult figures. Andrew Loomis refined this into a clear, teachable system in his books, and George Bridgman focused on construction and how forms interlock. Both are worth studying. But real people vary: some are six heads tall, some are eight and a half. Children are closer to four or five heads. Learning to measure in head units lets you draw any body type accurately.
Adapting Proportions for Stylized Characters
Animation characters are rarely realistic. A stylized hero might have a tiny head and huge hands; a comedic sidekick might be three heads tall. The key is consistency. Once you choose a proportion system, stick with it across every pose so the character reads as the same person. Our animation training in Montreal spends real time on this, because a portfolio that shows consistent stylization stands out immediately.
Building an Anatomy Practice Routine
Anatomy isn’t learned in a weekend workshop. It’s built through repetition, ideally daily. Here’s the weekly structure we recommend to students at our Montreal studio.
Daily Gesture Drawing Warm-Ups
Start every session with 10 to 15 minutes of timed gesture drawing. Use the Line of Action figure drawing tool for quick 30-second and 1-minute poses when you can’t get to a live session. The goal isn’t accuracy yet; it’s warming up your eye and hand.
Weekly Long-Form Anatomy Studies
Set aside two or three longer sessions each week:
- One session of figure drawing from life at a local Montreal life-drawing session or open studio
- One session copying master anatomy drawings from Loomis or Bridgman
- One session doing focused studies of a single body part, like hands or the torso
Rotate the focus each week so you’re not just drawing the same comfortable poses over and over.
How Anatomy Strengthens Your Animation Portfolio
When reviewers at Canadian animation studios open a portfolio, they’re scanning for clarity. Can this artist draw a pose that reads instantly? Does the character feel like it has weight? Anatomy is the foundation of both.
What Reviewers Notice First
They notice silhouette. A strong pose reads even as a solid black shape. They notice weight: does the character look like it’s standing on the ground or floating? They notice hands and faces, because those are where weak anatomy shows up fastest. If your anatomy is solid, all three of these read clearly.
Common Anatomy Mistakes in Student Portfolios
The same problems come up again and again:
- Shoulders that don’t connect to a ribcage
- Hips that don’t tilt with the spine
- Arms that bend like rubber hoses instead of hinging at the elbow
- Feet that don’t support the body’s weight
- Inconsistent proportions between poses of the same character
Fixing these in your sketchbook now saves you from fixing them under deadline later.
FAQ
How long does it take to learn anatomy for figure drawing?
Basic construction, the skeleton and major muscle groups, takes most students six months to a year of consistent practice. Mastery is ongoing. Even professional animators keep studying anatomy throughout their careers.
Do I need to memorize every muscle name?
No. You need to understand the major forms that affect silhouette and movement. Knowing the deltoid, pectoralis, latissimus dorsi, glutes, and quadriceps will carry you through most poses. Detailed muscle names matter more for medical illustration than for character art.
Is gesture drawing more important than anatomy?
Neither replaces the other. Gesture gives a drawing life; anatomy gives it structure. Our Montreal art classes teach them together because students who only practice one tend to hit a wall quickly.
What tools help with daily anatomy practice?
Line of Action is a free figure drawing tool with timed poses. Andrew Loomis and George Bridgman’s books are still the standard references. And nothing replaces live figure drawing at a local Montreal life-drawing session.
How does anatomy affect my animation portfolio?
It’s one of the first things reviewers check. Strong anatomy makes poses read clearly, gives characters believable weight, and shows that you understand how bodies actually move. That’s exactly what animation training programs and studios in Canada are looking for.
Anatomy is a lifelong practice, not a box you check once and move past. Every figure you draw teaches you something new about how the body works, and every sketchbook page builds on the last. If you want structured guidance, join one of our Montreal art classes or start a daily gesture habit today. Your future animation portfolio will thank you.